

How To Put Epoxy On Cups

by Angie Holden
I have seen several resin tumbler projects and wanted to show y'all how to brand them by marbling the resin. This project is easy and perfect for those who desire to customize their drinkware. Use whatever insulated tumbler that you beloved and personalize the project with your favorite color combination.
Resin supplies needed:
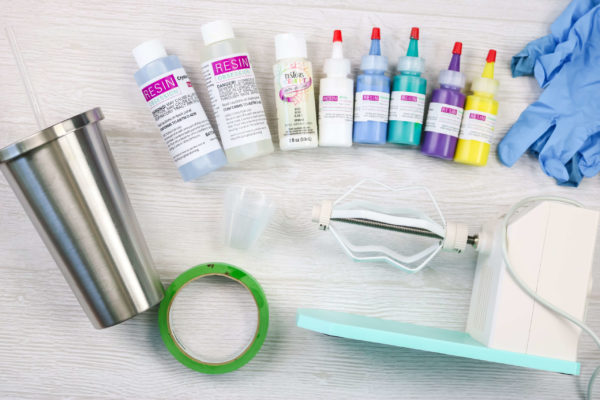
● Insulated tumbler
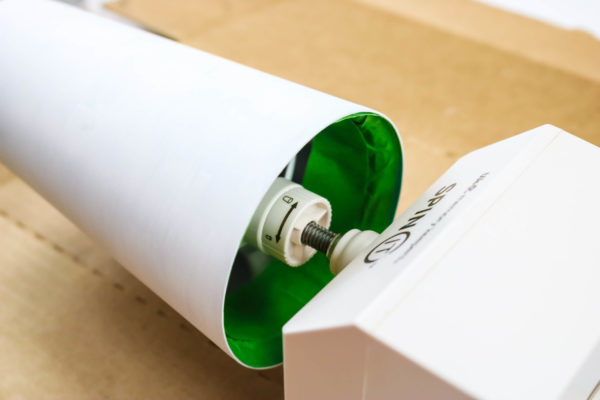
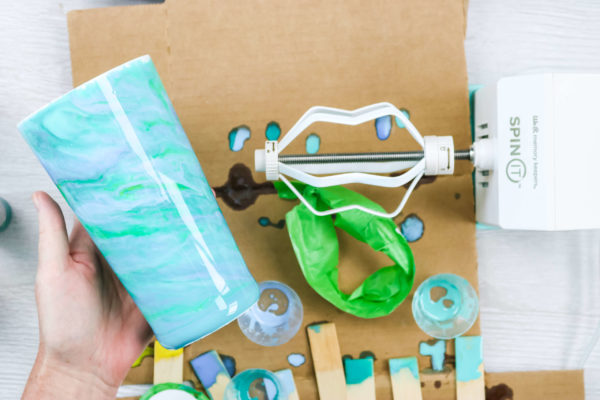
● Tumbler turner (I am using the Spin It from We R Retentiveness Keepers.)
● Resin Obsession Crystal Doming Resin
● Resin Obsession resin pigments in the colors of your option
● Mixing cups
● Stir sticks
● Gloves and other protective equipment
● Painter'south record
● Cardboard or other protective paper
● Craft paint
● Paintbrush
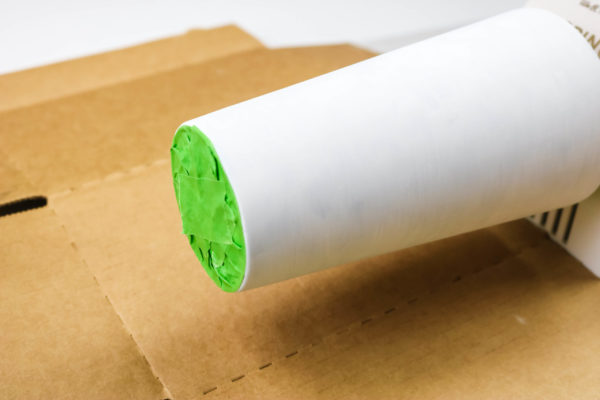
Step 1: Prime number with white paint
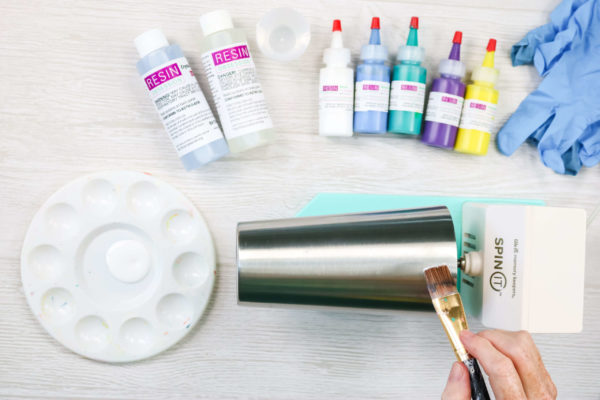
Start by painting your tumbler if needed. Some tumblers come powder coated already. The one I am using was plain steel, so I gave information technology a few coats of white paint before starting. I primed it with white paint in case any of the tumbler peeks through the resin. Pro tip: You can utilize the tumbler turner for the painting every bit well equally the pouring.
Let the paint to dry out in between coats as well as when y'all are completely done, earlier adding any resin.
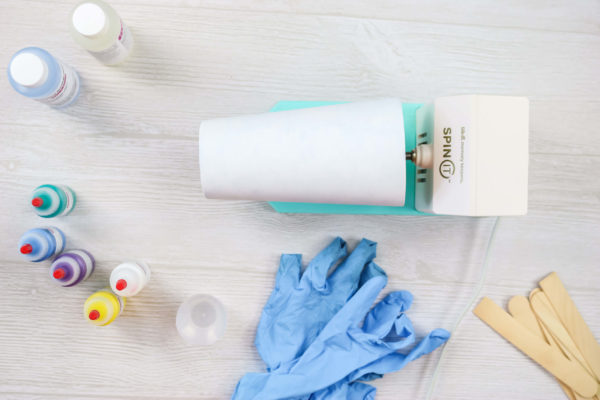
Step 2: Cover your crafting area
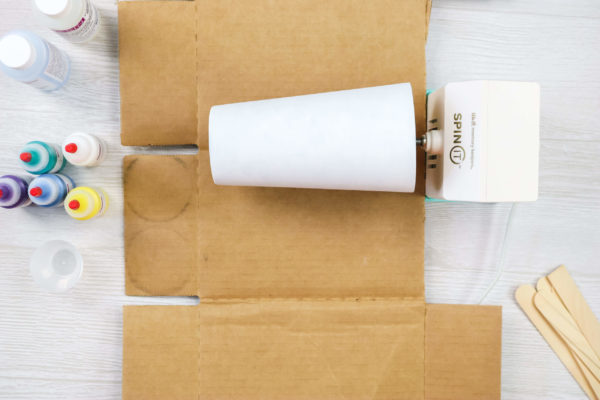
When ready to pour your resin, be certain to cover your expanse completely because resin is going to drip off the tumbler. I am using flake paper-thin that I tin can throw abroad one time the resin cures.
Step 3: Cover cup with tape
Embrace the lesser of the cup with painter's tape. This will catch any resin drips. You volition pare this off later.
This part of how to brand an epoxy resin tumbler is important! Add painter'south record to the inside of the cup to catch any resin that may spill or drip over into the within.
NOTE: My tumbler has a lid and straw so that is what will be used for drinking. If you are going to drink directly from the tumbler, ensure your resin is food condom or leave a lip that is not coated at the top.
Step 4: Mix the resin
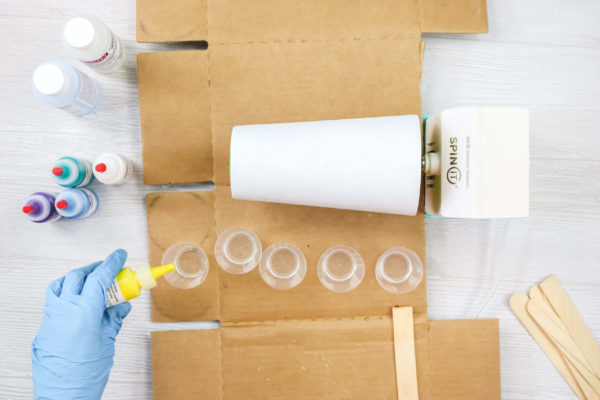
Now it's time to use resin! Measure equal parts of the resin components in a large mixing cup and stir well. And so, carve up this up into every bit many smaller containers as you lot take colors. Please e'er remember to vesture rubber equipment when working with resin.
If y'all haven't mixed resin before, read this first: how to mix resin and hardener.
Stride five: Colour the resin
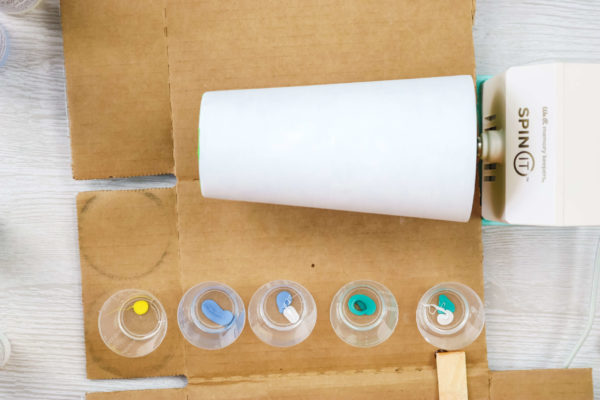
Add together drops of paint to each of your smaller cups. You lot can mix and lucifer the colors to create shades of the original.
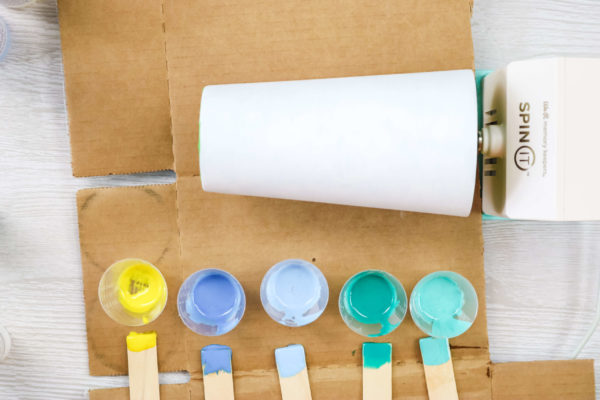
Mix each of these well.
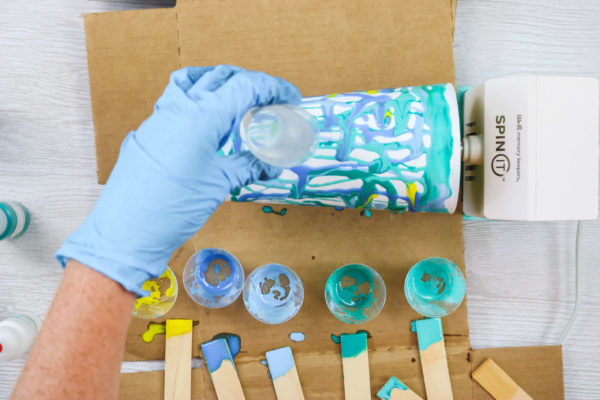
Step 6: Showtime the rotating motor and add together the resin
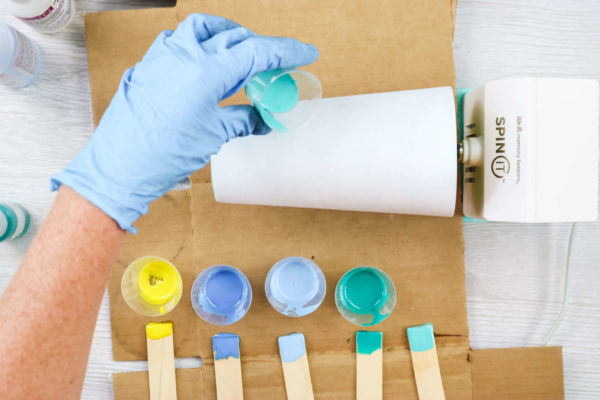
Turn the tumbler turner on low and let your cup to spin. Straighten the cup if necessary so that it spins correctly. Drip your resin onto your loving cup surface.
You volition want to drip each color randomly as the loving cup spins, getting each color all over the cup.
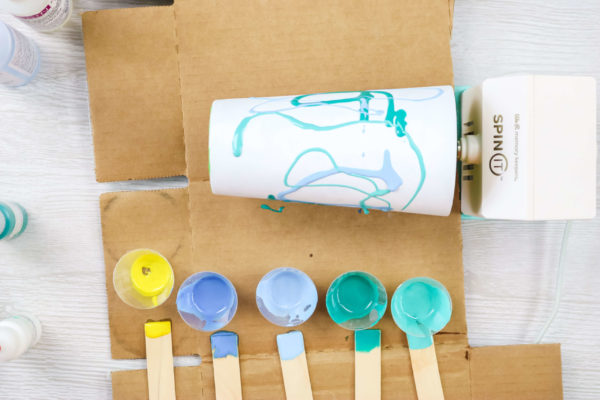
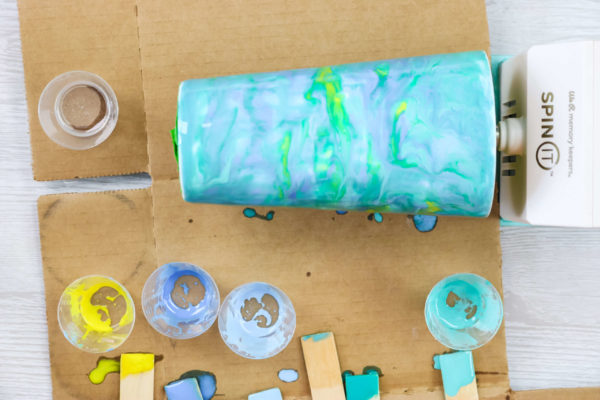
My resin tumbler looked like this once I had all of my colored resin applied. It volition start to run together and blend at this betoken.
I did, all the same, demand boosted resin to go full coverage. Merely measure and mix some additional clear resin and cascade however much you lot demand onto your cup.
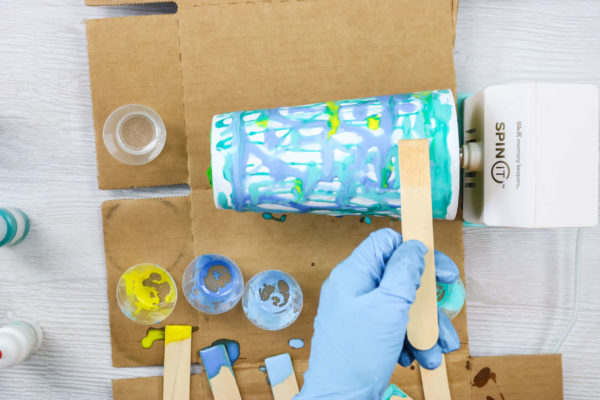
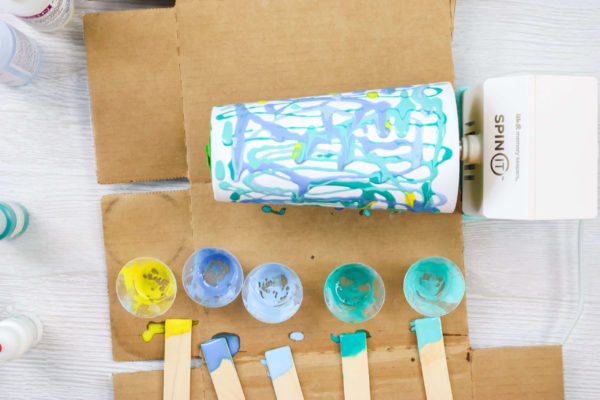
Use a stir stick to start pushing the resin around on the cup surface. Only barely touch the tip to the surface and so that the components spread and do not mix as well much.
Continue with this method all the way downwardly the loving cup until you are happy with the coverage. Call back you tin always add more resin if you demand it just it is hard to remove it once it is added.
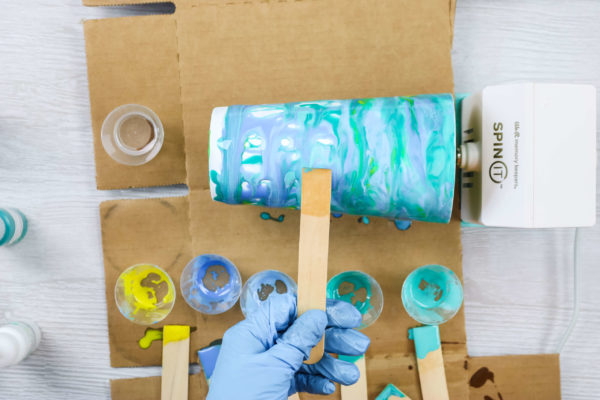
At this indicate of making the epoxy tumbler, y'all might wonder how to make the colors come up together. Besides using your stick, yous can too use a gloved finger to blend the colors together.
Step seven: Let cup spin while the resin cures
Once you are happy with your marbling, pop whatever bubbles while your cup continues to spin. And then, leave the cup spinning for about 4 hours while the resin hardens. I similar to exit a little bit of resin in a cup beside my project so I tin check on the cure earlier turning off my turner.
When the resin is thick enough that it doesn't run, yous can turn off your turner but go out the cup in place for the entire cure time. I left mine for about 18 hours, then took off the turner.
Step eight: Stop
This epoxy tumbler is almost done! Remove the tape from both ends and give a launder with dish soap before using it. Tumblers coated with resin shouldn't go in your dishwasher, only they tin take a good handwashing any day.
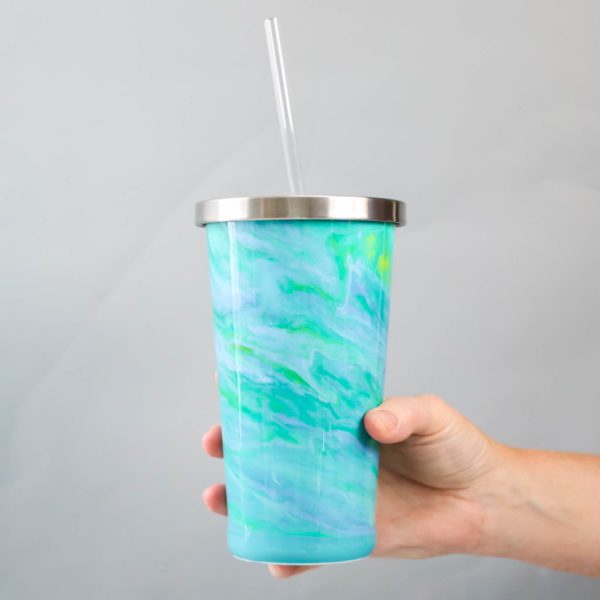
This gorgeous marbled cup is perfect to keep for yourself or give as a gift. I will warn you that resin tumblers are a bit addictive. It is such a fun and like shooting fish in a barrel craft plus there are so many ways to brand them!
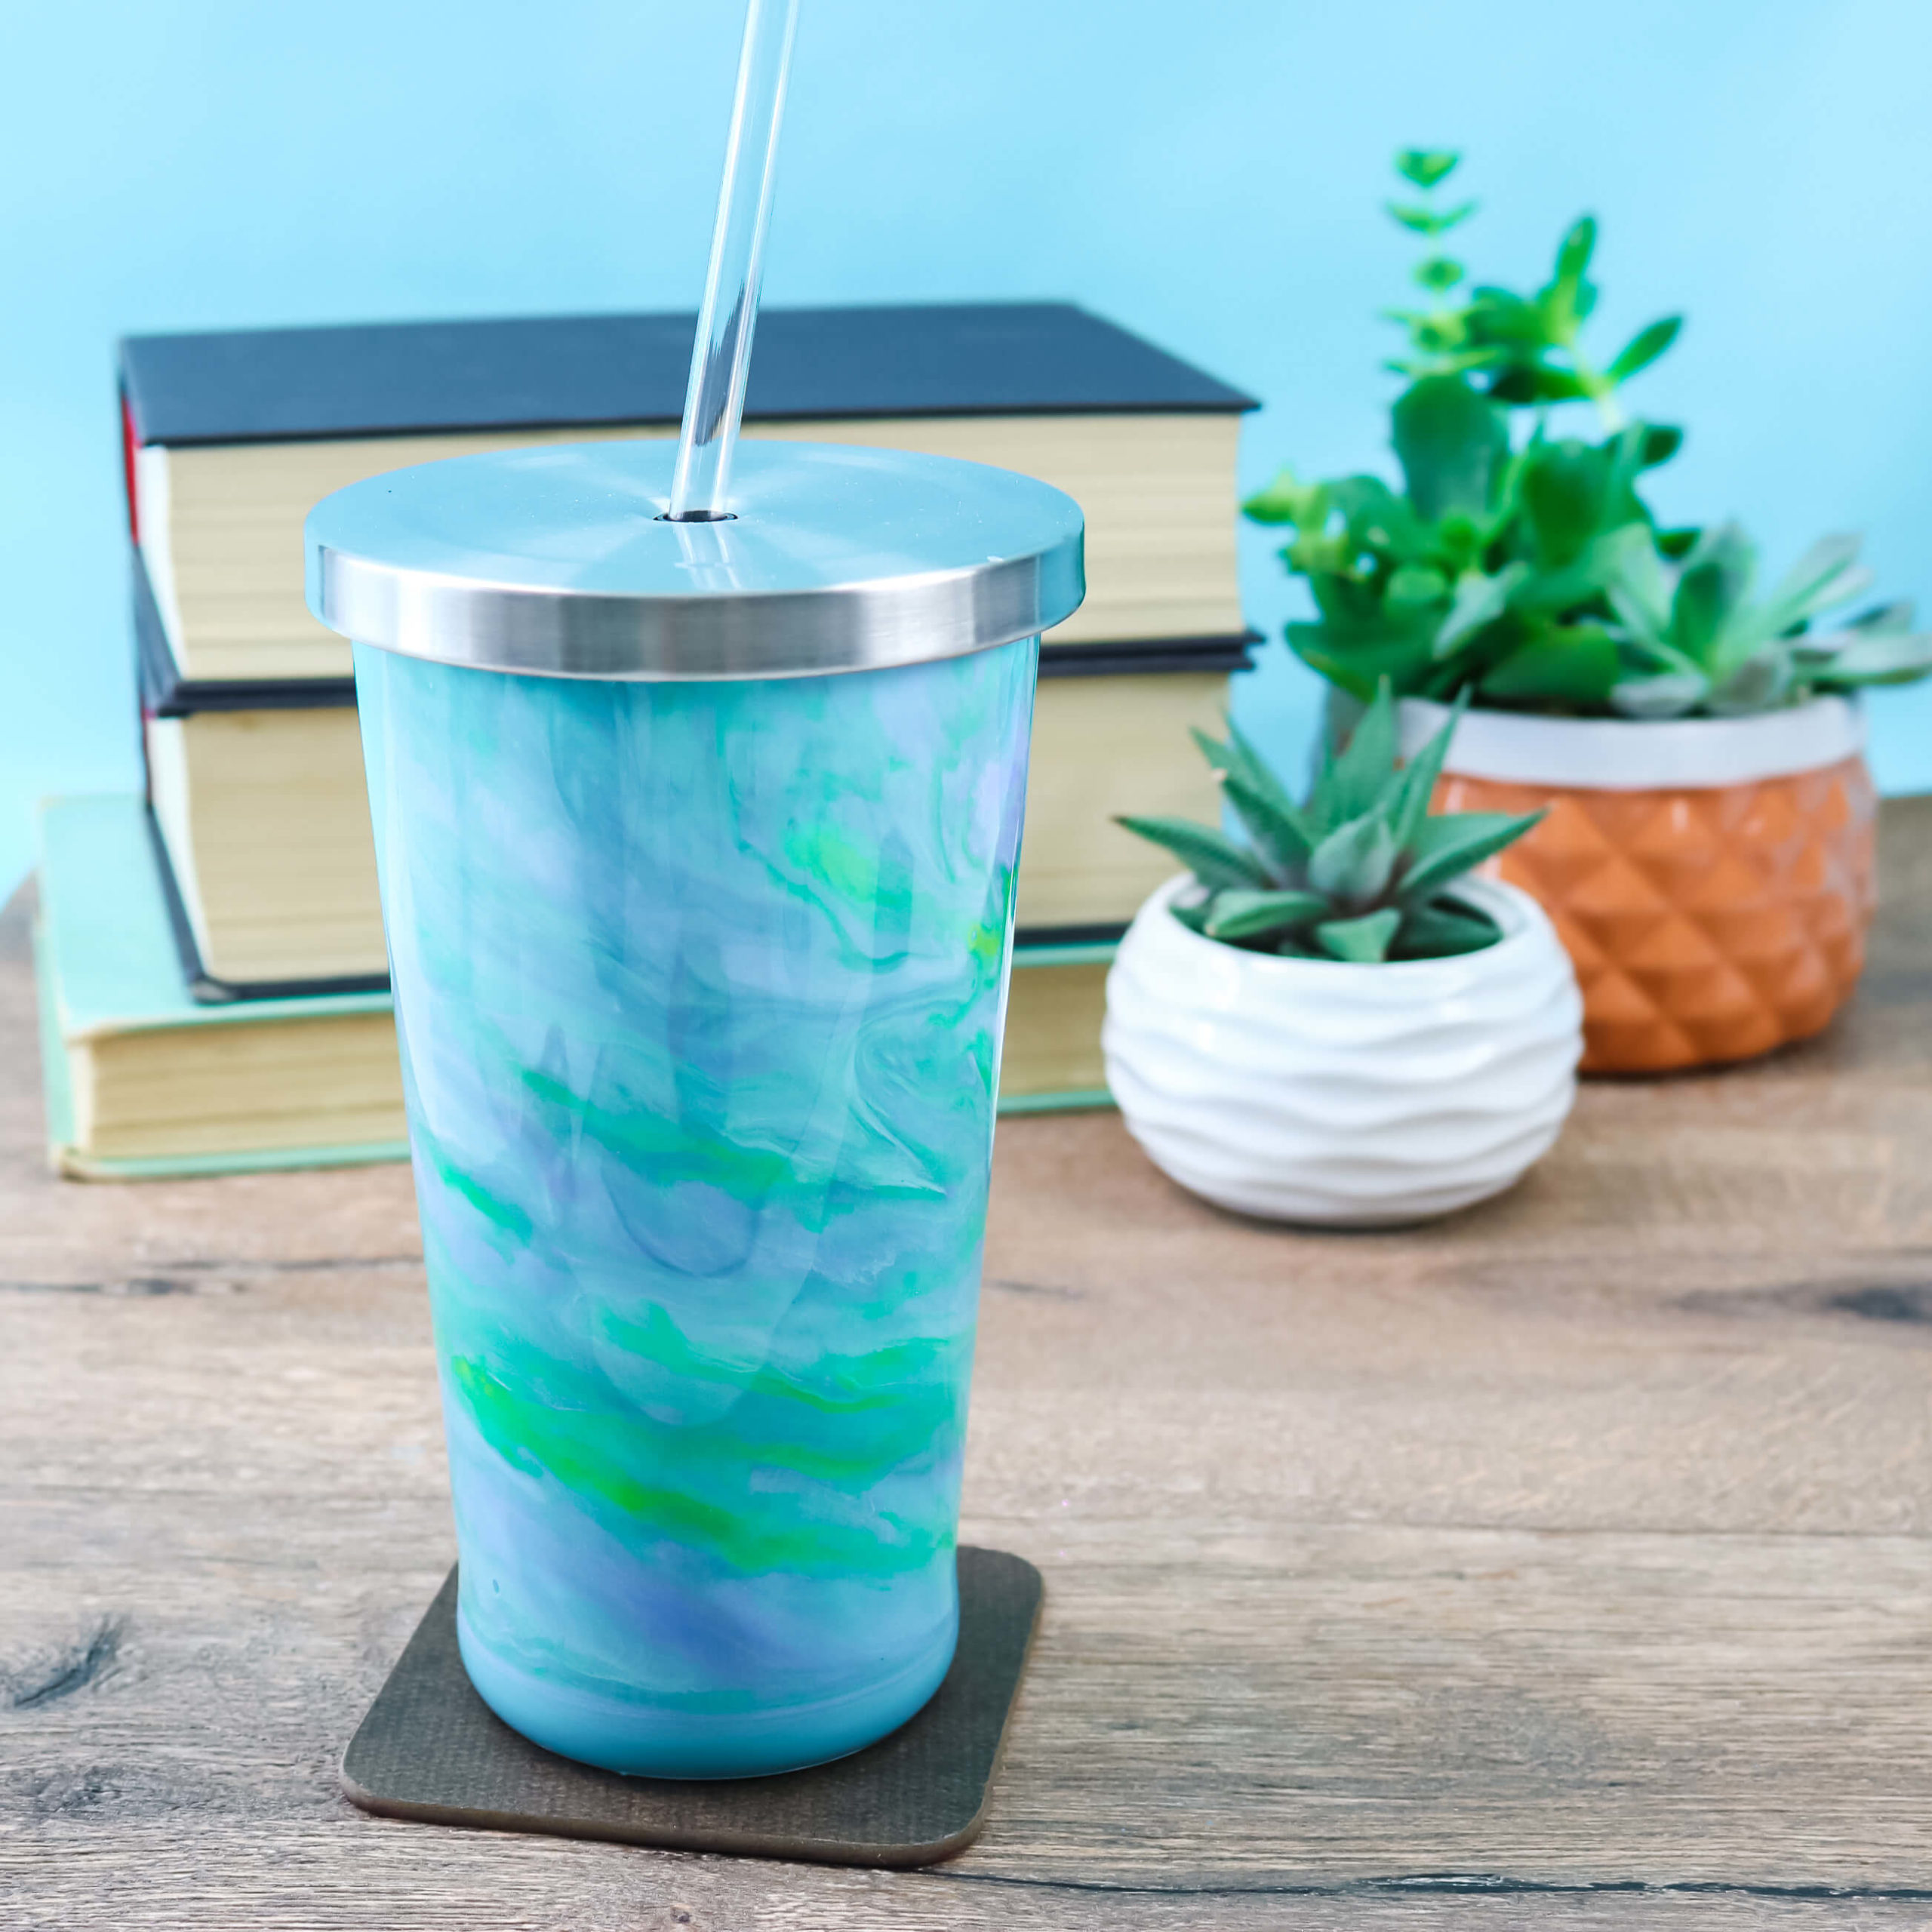
Give this marbling look a try on a tumbler or even another project. Await until people start asking yous where you lot got your epoxy tumbler and you tell them how easy it is to make!
If you want to try a unlike tumbler project, here'southward how you add a glittered resin finish to a steel tumbler.
Excited to endeavor making other crafts with resin but worried about making a mistake?
I get information technology. I've been there besides! It's why I wrote the downloadable ebook, Resin Jewelry Making. Information technology's helped thousands of other artists worldwide go from dislocated to confident when creating with resin! Buy your copy at present and information technology's ready to read in minutes.
Unpublished Blog Posts of Resin Obsession, LLC © 2022 Resin Obsession, LLC
Source: https://www.resinobsession.com/resin-tutorials/how-to-make-epoxy-tumbler/
0 Response to "How To Put Epoxy On Cups"
Post a Comment